
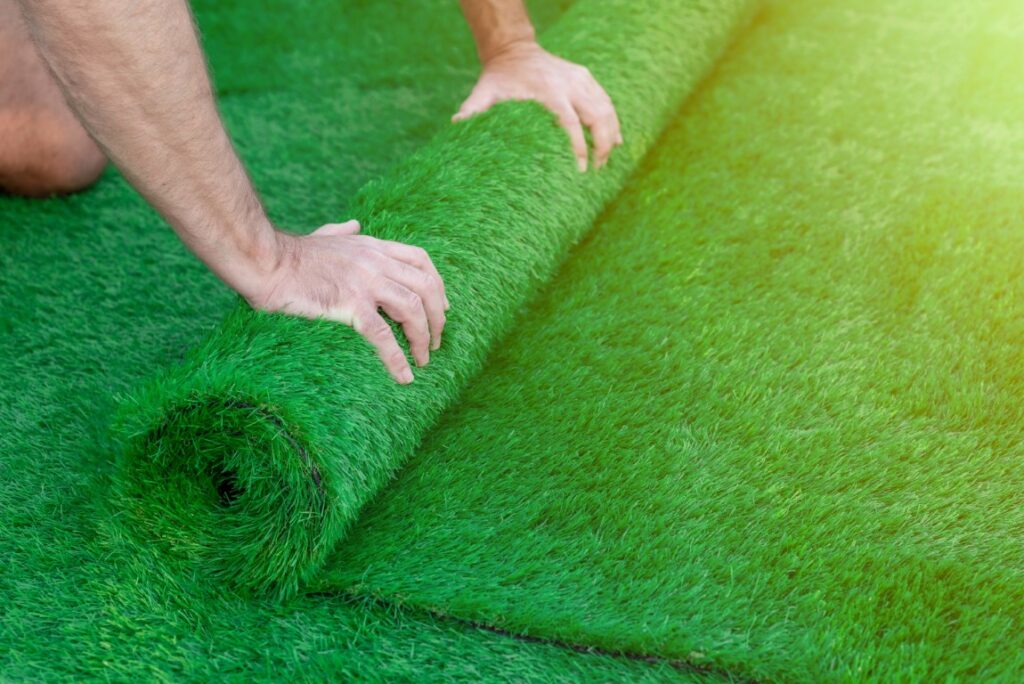
So you’ve decided to Laying Artificial Grass in your garden? Great choice! High-quality artificial grass looks beautiful, feels lush and soft, and is usable all year round (without the need for wellies!) Just take a look at some of our recent installations to see what your garden could be like.
However, it’s not just choosing the best artificial grass that’s important, how to lay artificial grass properly is also something you’ll want to get your head around. If it’s done incorrectly, you could end up with drainage issues or an uneven lawn.
Here at LG Pro Landscaping, we’re experts at fitting artificial grass—we’ve even received an award from LANTRA as an approved artificial grass installer! So if you want to be 100% sure that your fake lawn will look and feel, well, not fake, then get a quote from us today.
If you still want to give it a go yourself, then we can’t stop you, but we can do our best to help you do it properly. In this guide, you’ll learn what tools you need to install artificial grass, how to lay artificial grass properly, and much more!
We wish you the best of luck, but once again, unless you have experience with this kind of stuff, we recommend you get a quote because a professional installation will usually turn out better and last longer.
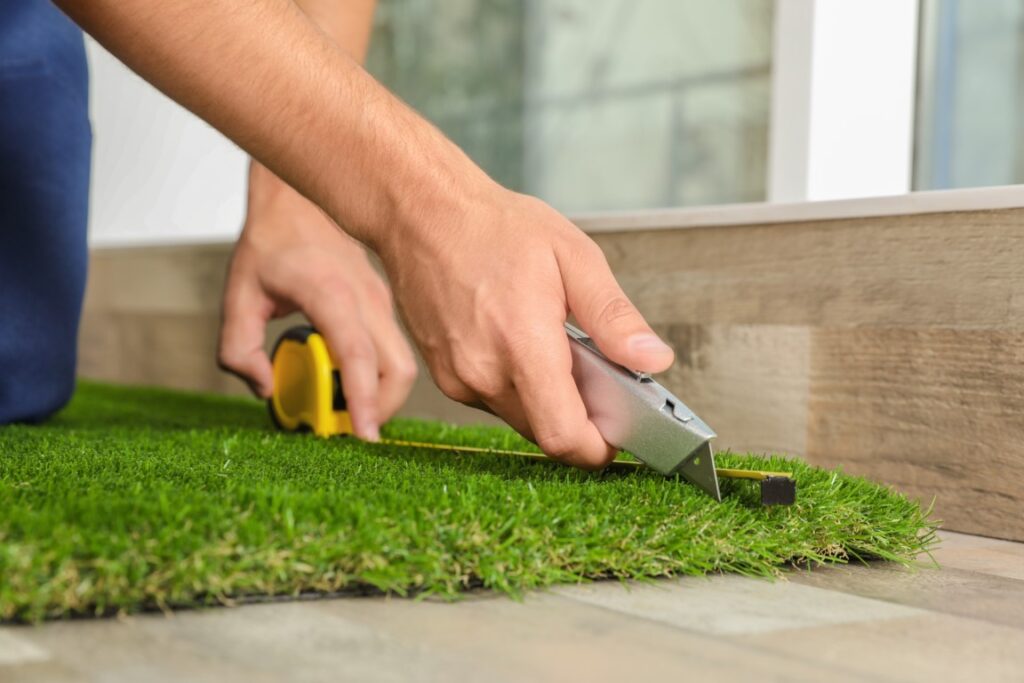
What Tools Do You Need to Lay Artificial Grass?
- Turf cutter
- Shovel
- Stanley knife (with spare blades)
- Joining tape
- Joining adhesive
- Tape measure/straight edge
- Planks for compacting/compaction plate/roller
- Ground pins or galvanized nails
- Hammer
- Stiff outdoor broom/power brush
- Sand spreader/notched trowel
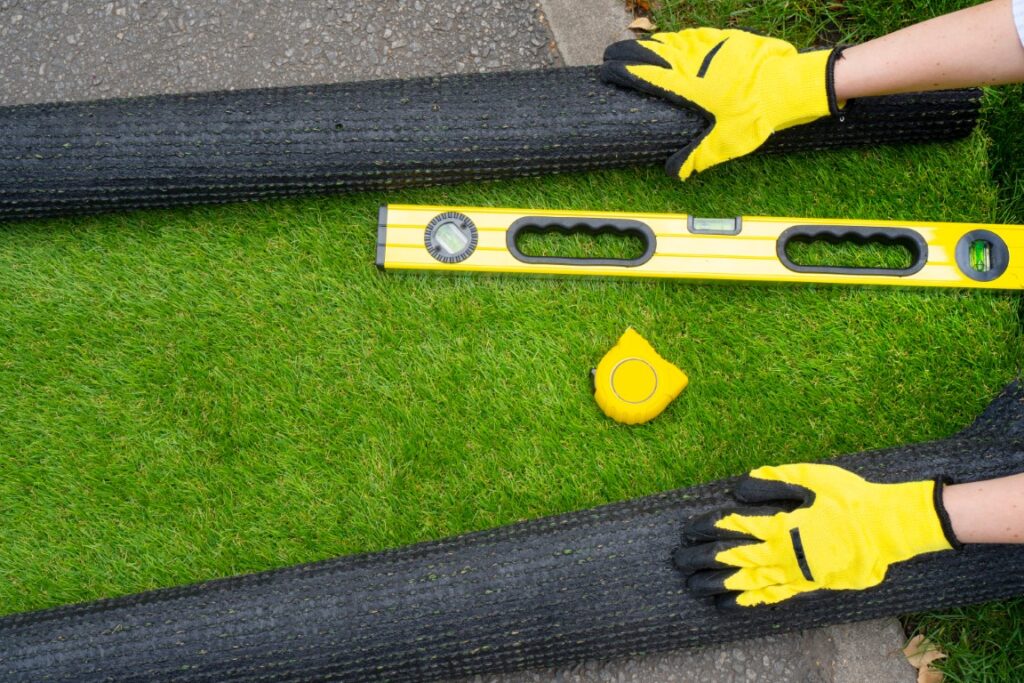
- Gloves & Knee pads
- Skip

How Do You Prepare to Lay Artificial Grass?
Measure Your Area
Before you begin laying artificial grass, measure the area and create grids of 2 or 4 meters in width to fit with the rolls. Standard rolls are usually 4x25m. Remember not to try and reduce waste by fitting the grass in different directions; it’ll look very odd, so always plan to install the grass in the same direction.
Choose Your Artificial Grass
Although you may be tempted to buy cheap artificial grass, we strongly recommend that you don’t go too low on price. There’s a huge difference between thin, weak grass and thick, natural-looking grass. Opting for high-quality fake grass ensures a natural and vibrant appearance, a soft texture, and exceptional durability. The brand we recommend consistently impresses our clients because of its quality and value. You can see for yourself by ordering free samples here.
How Do You Lay Artificial Grass Properly?
Step 1.
To begin, use a sharp spade or, ideally, a mechanical turf cutter to remove the turf to a depth of 2 inches. Additionally, be sure to clear away any large stones, bricks, or other objects that may obstruct the area. Also, make sure any cables and water pipes are positioned below the digging depth.
Step 2.
To achieve a chamfered finish at the perimeters, use a sharp spade. Set the chamfered edge at a depth of approximately 30-35mm below the perimeter edgings. If there are no existing perimeters for the artificial turf to butt up against, it may be necessary to install an edging system. With the help of a hammer and a piece of wood, knock the edging into the soil, ensuring that around 3cm of the edging remains exposed.
Step 4.
If the ground is soft or unstable, you may need to lay down a type-1 stone base before continuing to the next step.
Step 5.
Apply a generous layer of 6 to 10 mm to dust granite stone or comparable material. Use a rake to level the area, shaping it into a crowned profile to achieve a natural-looking installation. To create a smooth and even finish, you may want to employ a piece of timber to drag the sand or dust across the entire application area. If you are using sand, ensure that the depth does not exceed 20mm. For larger imperfections exceeding 20mm, use hardcore material to level them out before applying the sand layer. Ensure the perimeter heights are set and finished at approximately 15mm below the edge system. After setting the heights, proceed to wet down the entire area and compact it to ensure a solid and stable foundation for the next steps of the installation process.
Step 6.
Once you have the foundation in place, you can install the weed membrane to prevent weed growth while still allowing proper drainage of water. Stretch out the membrane across the area and secure it in place by using 4″ galvanized steel nails approximately every 0.75m along the perimeters, and trim any excess membrane from the edges to ensure a neat appearance. If you have to join two pieces of membrane, overlap the edges and attach them securely using gaffer tape. This will create a strong and seamless connection between the sections, maintaining the integrity of the weed membrane throughout the installation.
Step 7.
It’s now time to unroll your chosen artificial turf over the designated area, taking care not to displace the weed membrane. For back gardens, it’s preferable to unroll the turf with the pile running towards the house, while for front lawns, you should position it in the opposite direction (i.e., running away from the house). This will provide the most visually appealing appearance when viewed from the property’s windows. Once the turf is in place, proceed to trim any excess grass. Using an edging tool, you should run a sharp knife along the edge. We recommend changing the blades every 3–5 meters to maintain sharpness and ensure clean cuts during the trimming process.
Step 8.
When encountering an obstacle such as a tree or post, carefully fold back the artificial grass to assess the shortest route for cutting. Identify the path that requires the least amount of trimming. Then, using a sharp knife, cut between the tufts of grass along that determined route. It is crucial to exercise caution and avoid trimming any of the individual blades of grass, as this can result in an unsightly seam. If the artificial grass fits too tightly around an obstacle, such as a post, it may be necessary to splice the grass to release tension and allow it to lay flat. Start splicing from the bottom of the obstacle. This process will help the grass relax and settle properly. The two cut edges that were created to accommodate the post should come together neatly. However, if they do not align perfectly, it indicates that the grass is still under tension and further cutting is required to achieve a proper fit. When done correctly, you should be able to create a seamless and natural-looking installation around obstacles.
Step 9.
If you need to connect sections of grass, place the joining tape with the blotting side facing upward (the shiny side facing downward), then secure it in position using nails. Before proceeding with the installation, check the alignment and trim the perimeter edge near the joint to ensure it remains undisturbed once the adhesive for the artificial grass is applied.
Step 10.
Dispense a line of adhesive just below the grass’s edge using a mastic gun, and then apply another line to the front edge of the grass. Proceed cautiously when bringing the second piece together, ensuring not to bury the tufts. Apply gentle pressure along the seam to evenly distribute the adhesive. Then, secure the seam using 4″ galvanized nails. Start by nailing the leading edges of the seam, and then stagger the nails down the seam. Take care to open up the pile of grass to prevent the nails from burying any tufts.
Step 11.
The next step is to trim the perimeter edges and nail at all the corners and approximately every 0.75m in between. In areas where the pile moves away from the perimeter edges, create a slight bend in the carpet and use your hand to brush the pile towards the edge. This will help guide the pile to run smoothly into the edge.
Step 12.
For the final touch, you should spread a heavy layer of kiln-dried sand onto the turf. This can be accomplished with a blower, stiff brush, or lawn fertiliser spreader. We recommend using 6–8 kg of sand per square meter to achieve a natural-looking finish. We also advise that you brush the pile before, during, and after the sand infill. This sand dressing procedure should be carried out on a dry day, preferably on the same day as the lawn installation.
A Final Word
We hope the guide above has helped you feel more confident about installing artificial grass by yourself. However, we can’t make any guarantees that your installation will be successful unless you get us to do it! If you want to save time and ensure you end up with a garden you love looking at and relaxing in, then get a quote here. We provide up to a 10-year warranty on our artificial grass installations to give you peace of mind. The exact length of our warranty depends on the type of grass you choose and your compliance with proper maintenance (which we can also help you with). Get in touch to find out more!